Creating a 3D Rotating Cube with Three.js
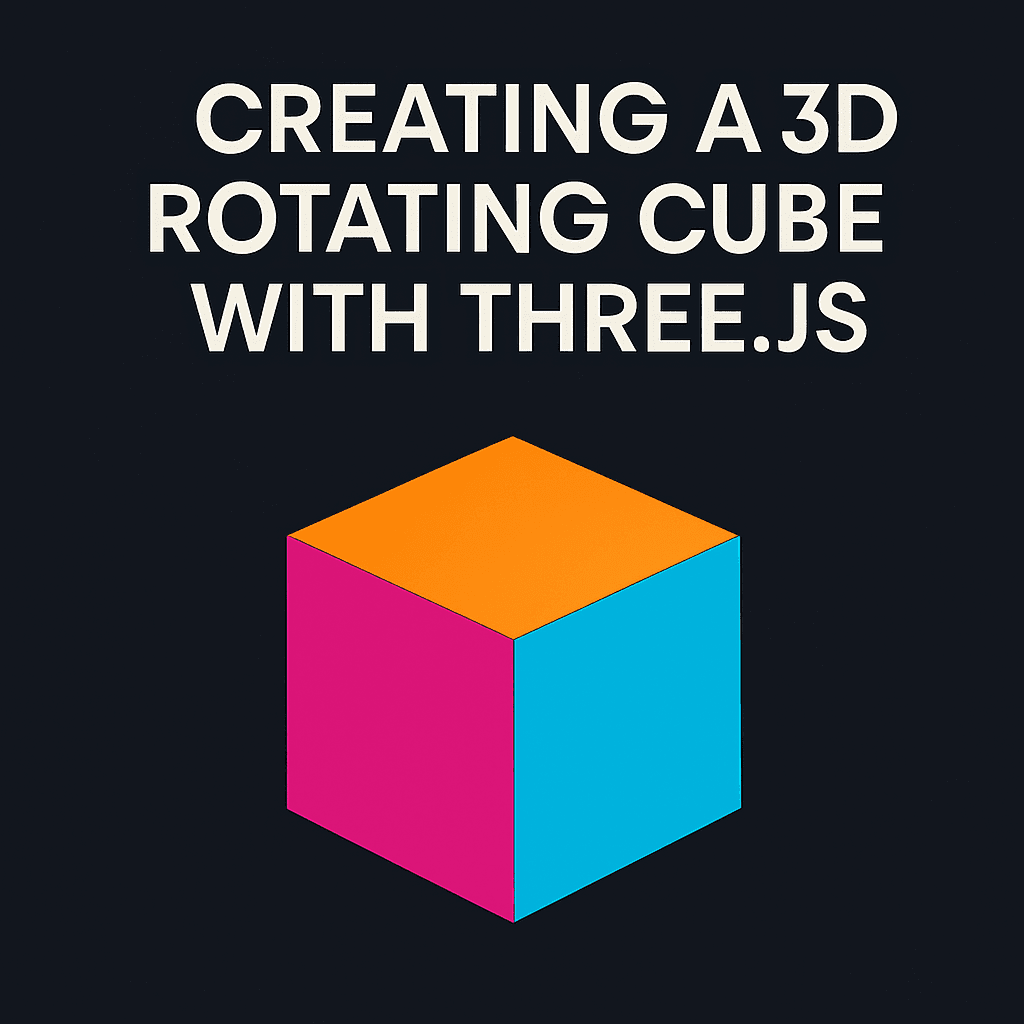
Creating a 3D Rotating Cube with Three.js
Three.js is a powerful JavaScript library that makes it easier to create and display 3D computer graphics in a web browser. In this tutorial, I'll guide you through creating a simple yet impressive rotating cube using Three.js. This is a perfect starting point for beginners looking to dive into the world of 3D web graphics.
What We'll Build
We'll create a scene with a colorful cube that rotates smoothly. You'll learn about the basic components of a Three.js application including:
- Setting up the scene, camera, and renderer
- Creating a mesh with geometry and materials
- Implementing animation
- Adding lighting for better visual effects
- Handling window resizing
Prerequisites
- Basic knowledge of HTML, CSS, and JavaScript
- A modern web browser that supports WebGL
- A code editor of your choice
Step 1: Setting Up the HTML
First, let's create a basic HTML structure and import the Three.js library:
<!DOCTYPE html>
<html lang="en">
<head>
    <meta charset="UTF-8">
    <meta name="viewport" content="width=device-width, initial-scale=1.0">
    <title>Three.js Rotating Cube</title>
    <style>
        body { margin: 0; overflow: hidden; }
        canvas { display: block; }
    </style>
</head>
<body>
    <script src="https://cdnjs.cloudflare.com/ajax/libs/three.js/r128/three.min.js"></script>
    <script src="main.js"></script>
</body>
</html>
The CSS ensures that our canvas fills the entire viewport without any margins or scrollbars.
Step 2: Creating the JavaScript File
Now, let's create our main.js file where all the Three.js magic happens:
// Initialize core ThreeJS components
let scene, camera, renderer;

// Create the 3D objects
let cube;

// Setup the environment
function init() {
    // Create the scene
    scene = new THREE.Scene();
    scene.background = new THREE.Color(0x000000);

    // Create and position the camera
    camera = new THREE.PerspectiveCamera(
        75, // Field of view
        window.innerWidth / window.innerHeight, // Aspect ratio
        0.1, // Near clipping plane
        1000 // Far clipping plane
    );
    camera.position.z = 5;

    // Create the renderer
    renderer = new THREE.WebGLRenderer({ antialias: true });
    renderer.setSize(window.innerWidth, window.innerHeight);
    document.body.appendChild(renderer.domElement);

    // Create a cube
    const geometry = new THREE.BoxGeometry(2, 2, 2);

    // Create materials with different colors for each face
    const materials = [
        new THREE.MeshStandardMaterial({ color: 0xff0000 }), // red
        new THREE.MeshStandardMaterial({ color: 0x00ff00 }), // green
        new THREE.MeshStandardMaterial({ color: 0x0000ff }), // blue
        new THREE.MeshStandardMaterial({ color: 0xffff00 }), // yellow
        new THREE.MeshStandardMaterial({ color: 0xff00ff }), // magenta
        new THREE.MeshStandardMaterial({ color: 0x00ffff })  // cyan
    ];

    cube = new THREE.Mesh(geometry, materials);
    scene.add(cube);

    // Add lights
    const ambientLight = new THREE.AmbientLight(0xffffff, 0.5);
    scene.add(ambientLight);

    const directionalLight = new THREE.DirectionalLight(0xffffff, 0.8);
    directionalLight.position.set(1, 1, 1);
    scene.add(directionalLight);

    // Handle window resize
    window.addEventListener('resize', onWindowResize, false);

    // Start the animation loop
    animate();
}

// Animation loop
function animate() {
    requestAnimationFrame(animate);

    // Rotate the cube
    cube.rotation.x += 0.01;
    cube.rotation.y += 0.01;

    renderer.render(scene, camera);
}

// Handle window resize
function onWindowResize() {
    camera.aspect = window.innerWidth / window.innerHeight;
    camera.updateProjectionMatrix();
    renderer.setSize(window.innerWidth, window.innerHeight);
}

// Initialize the scene
init();
Step 3: Understanding the Code
Let's break down what's happening in our code:
Scene Setup
We begin by creating three essential components:
Scene: A container that holds all our objects, lights, and cameras
Camera: Defines what we can see (we're using a perspective camera which mimics human vision)
Renderer: Draws what the camera sees onto the canvas
Creating the Cube
To create our cube, we need:
Geometry: Defines the shape (a box with dimensions 2×2×2)
Materials: Define how the surface looks (we're using six different colored materials for each face)
Mesh: Combines the geometry and materials to create the actual object
Lighting
We've added two types of lights:
Ambient Light: Illuminates all objects in the scene equally
Directional Light: Shines in a specific direction like the sun
Animation
The animate() function:
Requests the next animation frame
Slightly rotates the cube on its X and Y axes
Renders the scene
Window Resizing
The onWindowResize() function ensures that when the browser window is resized:
The camera's aspect ratio is updated
The renderer's size matches the new window dimensions
Step 4: Enhancing the Cube
Let's make our cube more interesting by adding some interactivity. Update your main.js file to include mouse control:
// Add these variables at the top of your file
let isDragging = false;
let previousMousePosition = {
    x: 0,
    y: 0
};

// Add these event listeners in your init() function
function addMouseControl() {
    document.addEventListener('mousedown', onMouseDown, false);
    document.addEventListener('mousemove', onMouseMove, false);
    document.addEventListener('mouseup', onMouseUp, false);
}

function onMouseDown(event) {
    isDragging = true;
    previousMousePosition = {
        x: event.clientX,
        y: event.clientY
    };
}

function onMouseMove(event) {
    if (!isDragging) return;

    const deltaMove = {
        x: event.clientX - previousMousePosition.x,
        y: event.clientY - previousMousePosition.y
    };

    cube.rotation.y += deltaMove.x * 0.01;
    cube.rotation.x += deltaMove.y * 0.01;

    previousMousePosition = {
        x: event.clientX,
        y: event.clientY
    };
}

function onMouseUp() {
    isDragging = false;
}

// Call this function in your init() function
addMouseControl();


And modify your animate() function to:

function animate() {
    requestAnimationFrame(animate);

    // Only auto-rotate when not dragging
    if (!isDragging) {
        cube.rotation.x += 0.005;
        cube.rotation.y += 0.005;
    }

    renderer.render(scene, camera);
}
Step 5: Final Result
When you open your HTML file in a browser, you should see a colorful cube rotating in the center of the screen. You can:
- Watch it auto-rotate when not interacting
- Click and drag to manually rotate it in any direction
- Resize your browser window and see the cube adapt perfectly
Conclusion
Congratulations! You've created your first Three.js application with a colorful, interactive 3D cube. This is just the beginning of what's possible with Three.js. From here, you can:
- Add more complex geometries
- Implement more sophisticated materials like textures and normal maps
- Create entire 3D scenes with multiple objects
- Add physics and collision detection
- Implement more advanced user controls
Three.js opens up endless possibilities for creating stunning 3D experiences directly in the browser without plugins. As you continue to explore this powerful library, you'll discover new techniques to bring your creative visions to life on the web.
Resources for Further Learning
Happy coding!